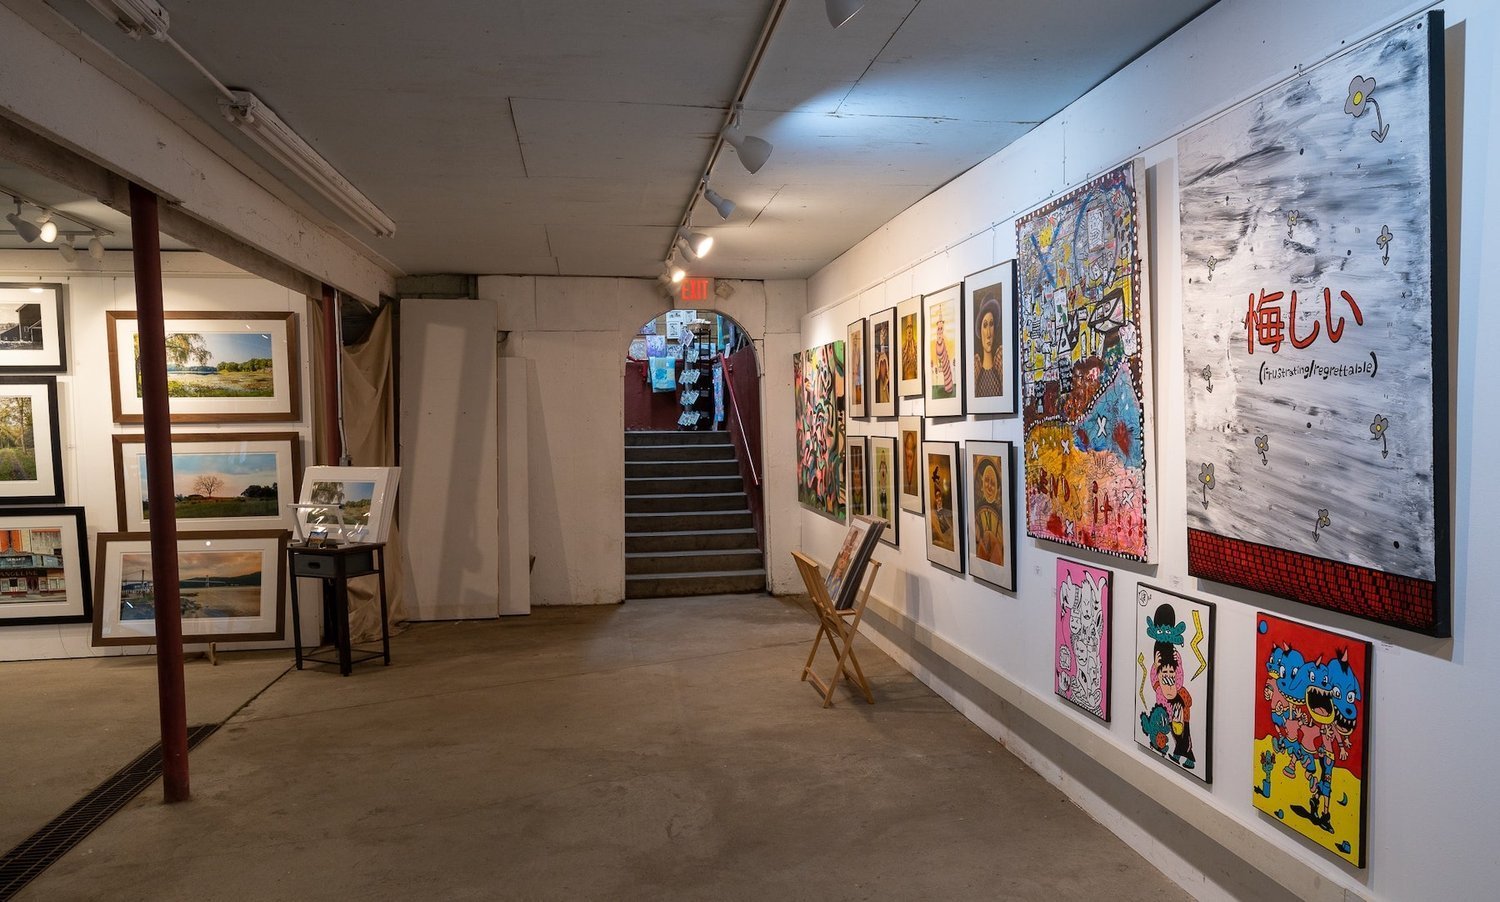
Are you a budding artist looking for the perfect space to let your creativity flow freely? Or are you an experienced artist seeking a dedicated sanctuary to create your next masterpiece? Look no further than your own home, specifically your basement! Transforming your basement into an art studio can be a game-changer for your artistic journey. This blog post will guide you through unleashing your creativity by setting up an art studio in your basement.
WHY CHOOSE THE BASEMENT?
The basement often needs to be more utilized in many homes. However, it has incredible potential as an art studio for several reasons:
Privacy: Basements offer seclusion from the hustle and bustle of the main living areas, providing you with a quiet and distraction-free environment.
Ample Space: Basements typically provide great square footage, allowing you to set up your art studio with plenty of room to move around and store your supplies.
Natural Light Control: Since basements are below ground, you have complete control over the lighting conditions, which is crucial for artists working with various mediums.
Noise Reduction: Basements are naturally insulated from external noises, helping you maintain focus and concentration on your creative projects.
Climate Control: Basements tend to maintain a relatively stable temperature and humidity level, ideal for preserving the quality of your art materials.
STEPS TO TRANSFORM YOUR BASEMENT INTO AN ART STUDIO
1. CLEAR OUT AND CLEAN UP
Before setting up your art studio, declutter and thoroughly clean your basement. Remove any items that you no longer need and create a blank canvas for your creative space.
2. PLAN YOUR LAYOUT
Take some time to plan the layout of your art studio. Consider factors like the placement of your easel, storage for art supplies, and any special lighting requirements.
3. LIGHTING
Adequate lighting is essential for any art studio. Depending on your preferences and the type of art you create, you should incorporate a combination of natural light, overhead lighting, and task lighting.
4. STORAGE SOLUTIONS
Invest in suitable storage solutions for your art supplies. Shelves, cabinets, and drawers can help keep your materials organized and easily accessible.
5. ART MATERIALS
Stock up on your preferred art materials, whether paints, brushes, canvases, or sculpting tools. Ensure you have everything you need to bring your artistic visions to life.
6. FURNITURE AND COMFORT
Choose comfortable seating and furniture for your studio. You’ll likely spend hours working on your art, so ergonomic chairs and workstations are crucial for your well-being.
7. PERSONALIZE YOUR SPACE
Add a personal touch to your art studio by decorating it with your artwork or inspirational pieces that motivate your creativity.
8. VENTILATION
If you’re working with any materials that produce fumes or dust, consider adding proper ventilation to keep the air in your studio clean and safe.
9. INSPIRATION BOARD
Create an inspiration board to pin ideas, sketches, and images that inspire your creative process.
10. CREATE A ROUTINE
Establish a regular schedule for your art practice to maximize your new studio space. Consistency is critical to unlocking your creativity.
CONCLUSION
Transforming your basement into an art studio can be a fulfilling and practical endeavor for any artist. It provides a dedicated space to explore your creativity, free from distractions, and with the convenience of a familiar environment. Following the steps outlined in this guide, you can unleash your artistic potential and embark on a journey of self-expression like never before.
So, don’t let that basement space go to waste any longer. Roll up your sleeves, gather your art supplies, and start transforming your basement!

